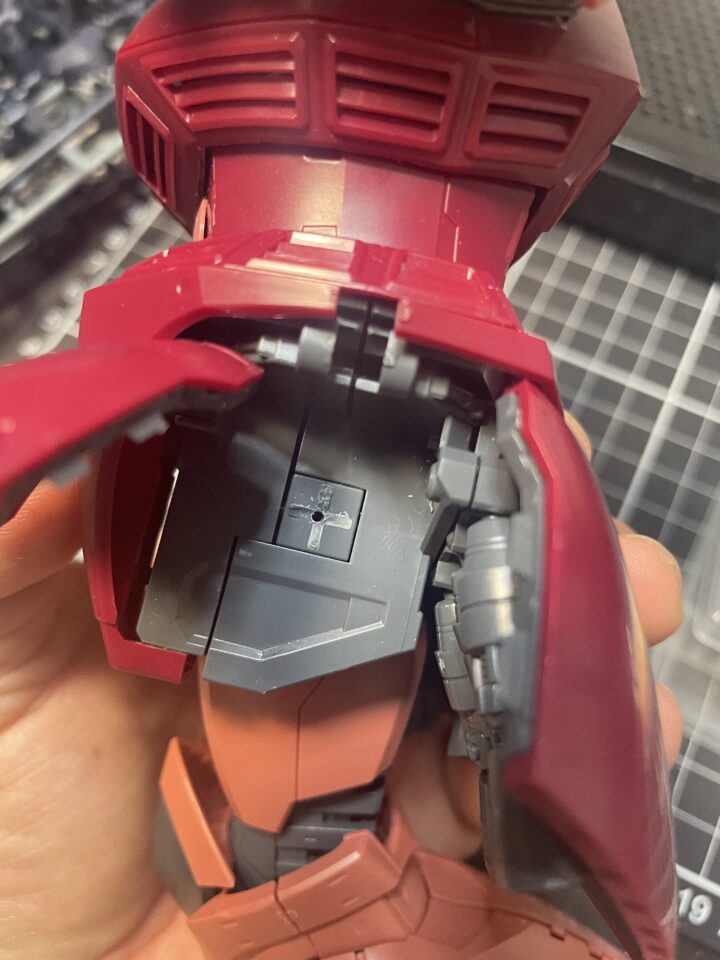
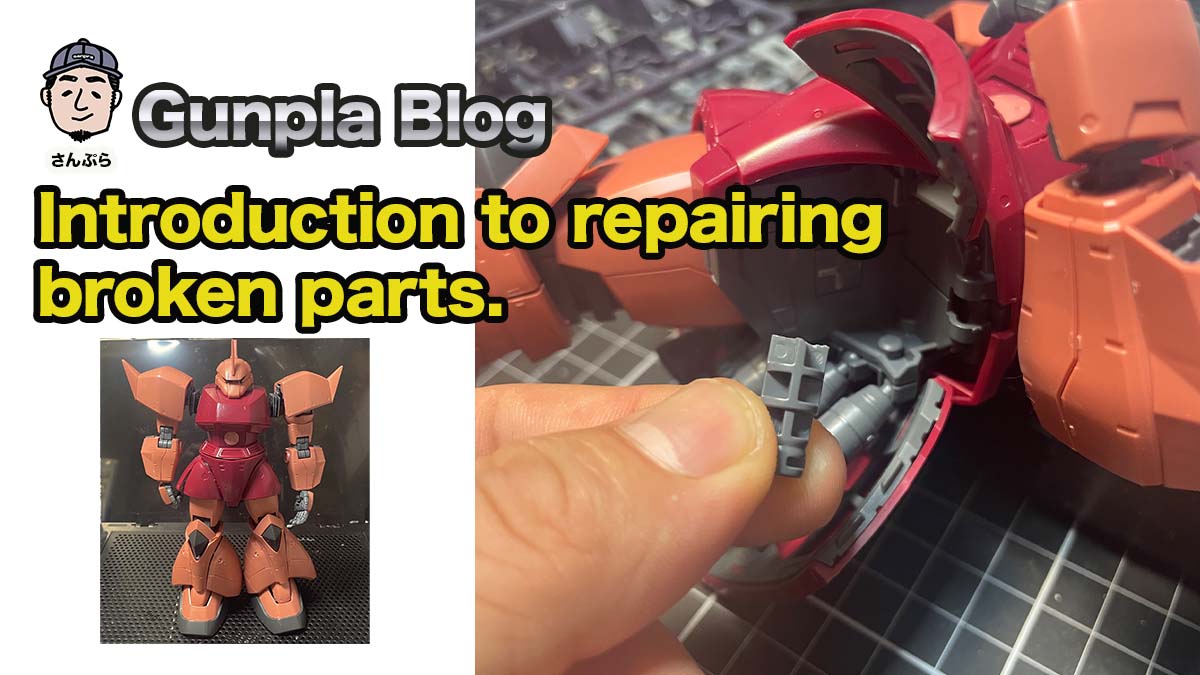
When I tried to disassemble my unfinished MG Char Gelgoog (lol) (parts were out of stock and I couldn’t buy it at all, unfinished) because I ran out of parts, the parts connecting the legs and waist broke with a [cracking] sound… Of course, my heart was also broken.
I had no choice but to repair it, but I would like to introduce a good repair method using brass wire.
What to prepare.
brass wire
Instant adhesive (Aron Alpha Pro impact resistant recommended)
1 mm drill bit
Broken parts …

Repair method
Drill holes with a 1 mm drill on the broken part side. Aim for the middle and drill through it.

Drill holes on the body side with a 1 mm drill. Aim for the middle.

Cut a piece of brass wire 1 mm long enough to go into the folded part and come out about 1 cm. At this time, use about 3 cm.

Insert brass wire into the broken part side and check for problems.

Once temporarily assembled.

Here comes Aron Alpha.

Coat the brass wire with Aron Alfua and stick it into the body. Once it is firmly fixed.

The broken parts are placed in brass wire and glued to the body with instant adhesive.

Spray the curing spray onto the area coated with instant adhesive.

Completed!
Put the parts in immediately. Perfect, isn’t it? I was able to insert and remove the foot parts without any problems.


I made a Gelgoog with a stand dedicated to Char, no problems (^^♪ By the way, the parts to attach the armour on the left hip are missing.

summary
Before I knew about this method, I just poured in instant adhesive. At first the adhesive was able to adhere, but it peeled off when force was applied. This method is stronger and safer than repairing with instant glue alone. Incidentally, this method can also be used to change parts in mixing, which I’ve recently become addicted to.
Follow us on Instagram.
https://www.instagram.com/sunpla_channel/

Gunpla Past Blog
This is a blog about the Gundam plastic models that I have created so far.
https://sunちゃんねる.com/category/gunpla/
Blog
このブログのテーマはSWELLで作成しています


コメント