
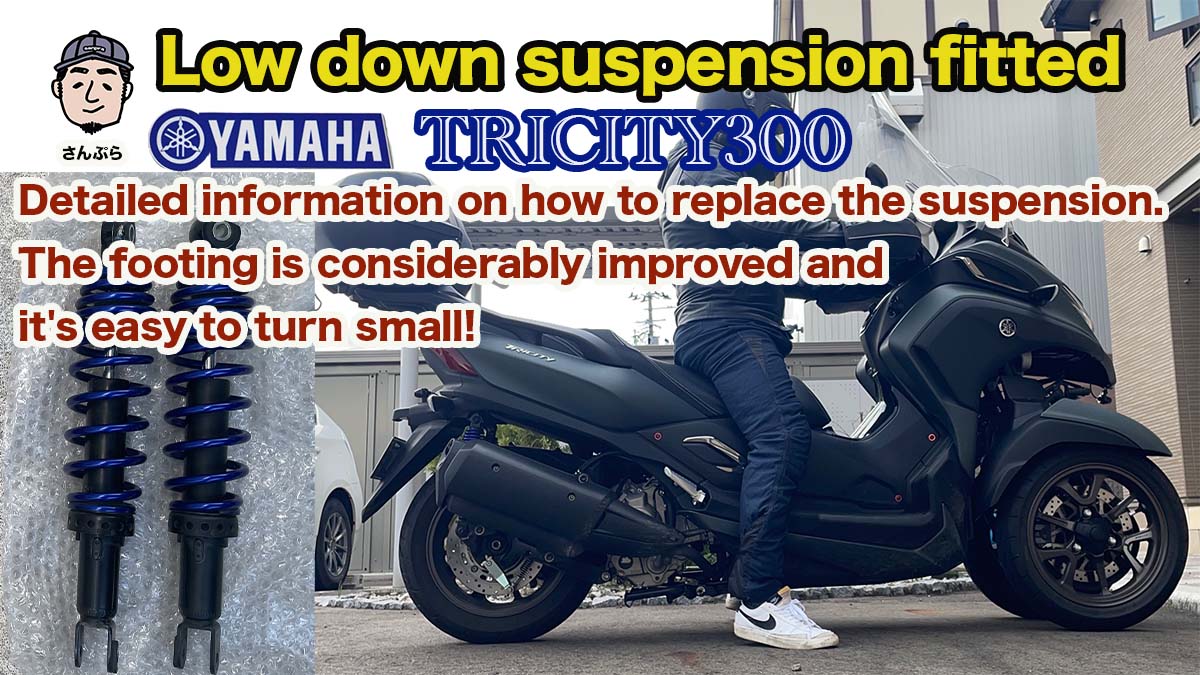
Famous for its poor footing❓ (whether it sells well enough to be famous is a mystery) and I’ve always wanted to improve it. I first fitted a lowered seat, but it was still too subtle. This time I bought a low down suspension and installed it, so I will introduce and review the installation procedure and the product.
Follow us on Instagram.
https://www.instagram.com/sunpla_channel/

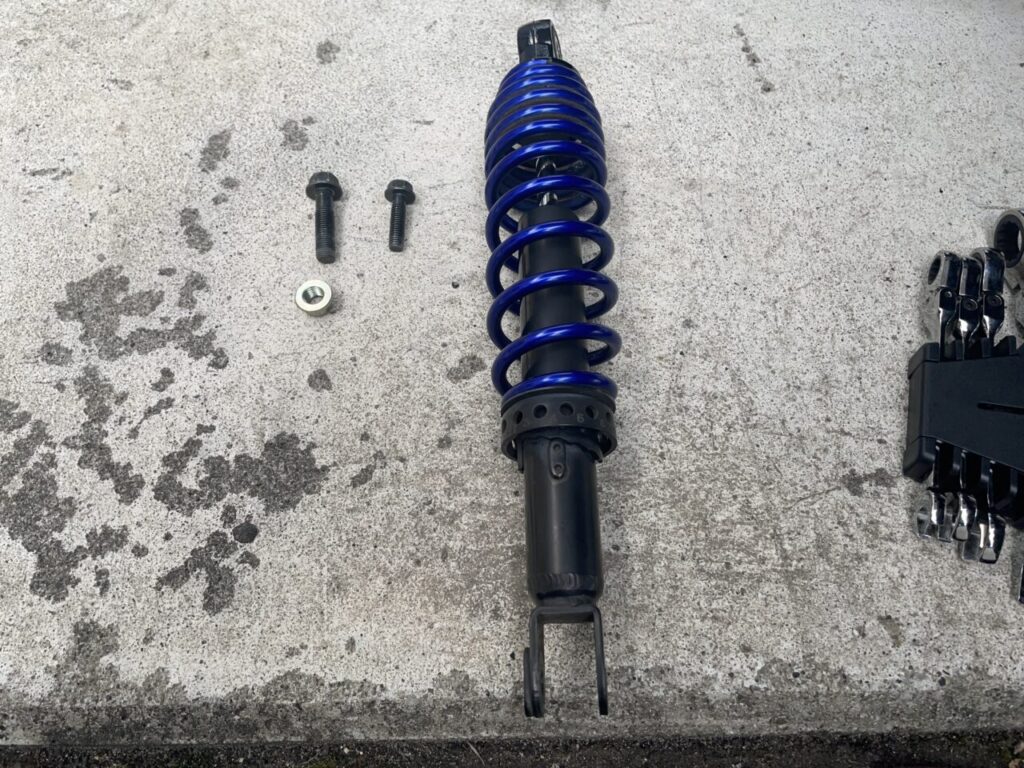
Introduction of low-down suspension
 さんちゃん
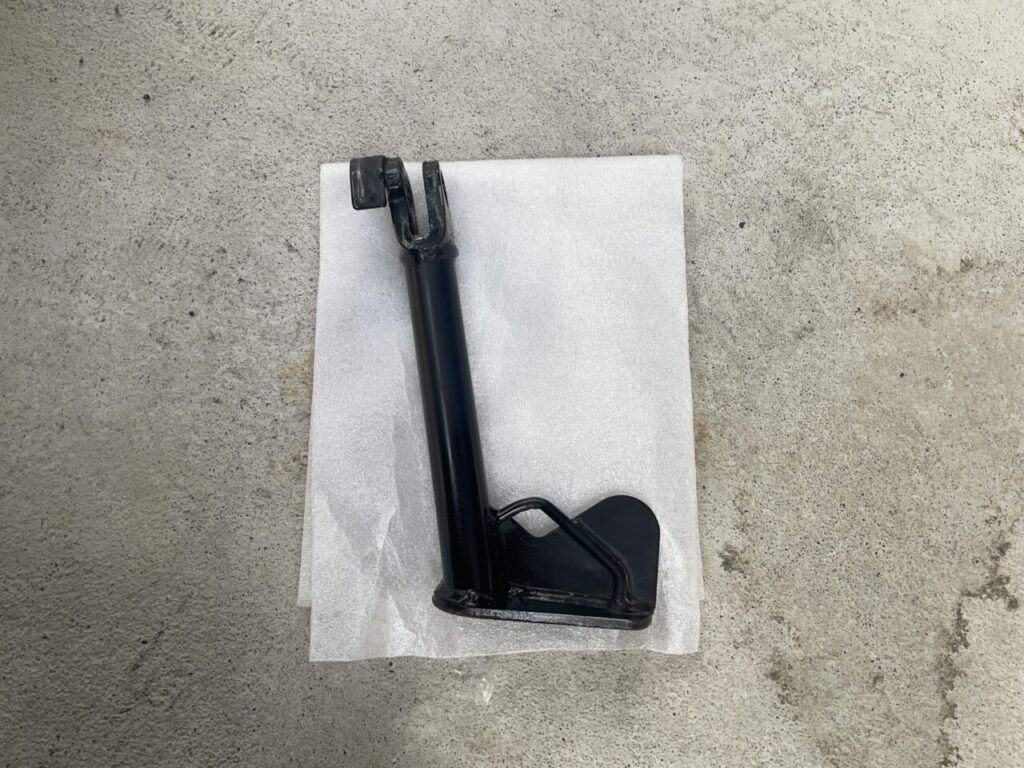
さんちゃんDo not use front suspension. Use rear and short stand only.
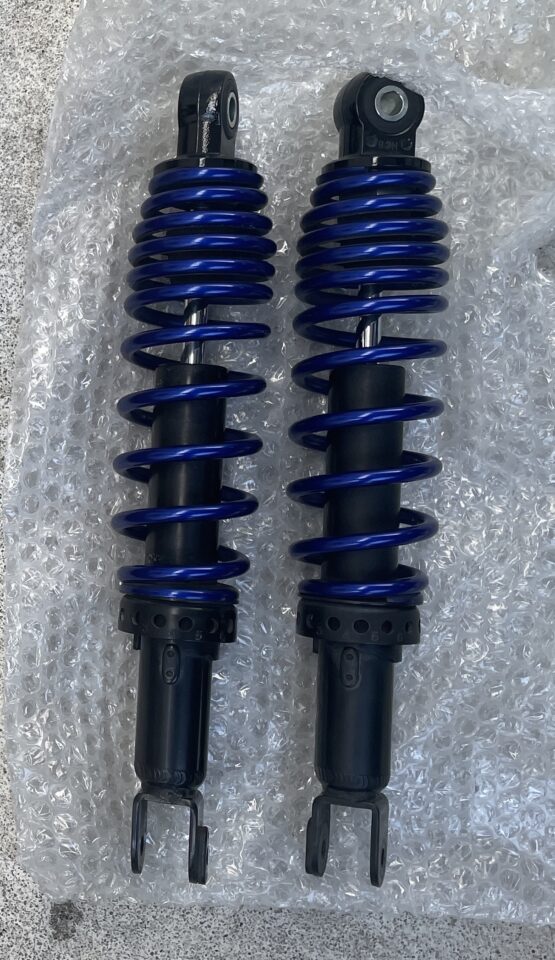
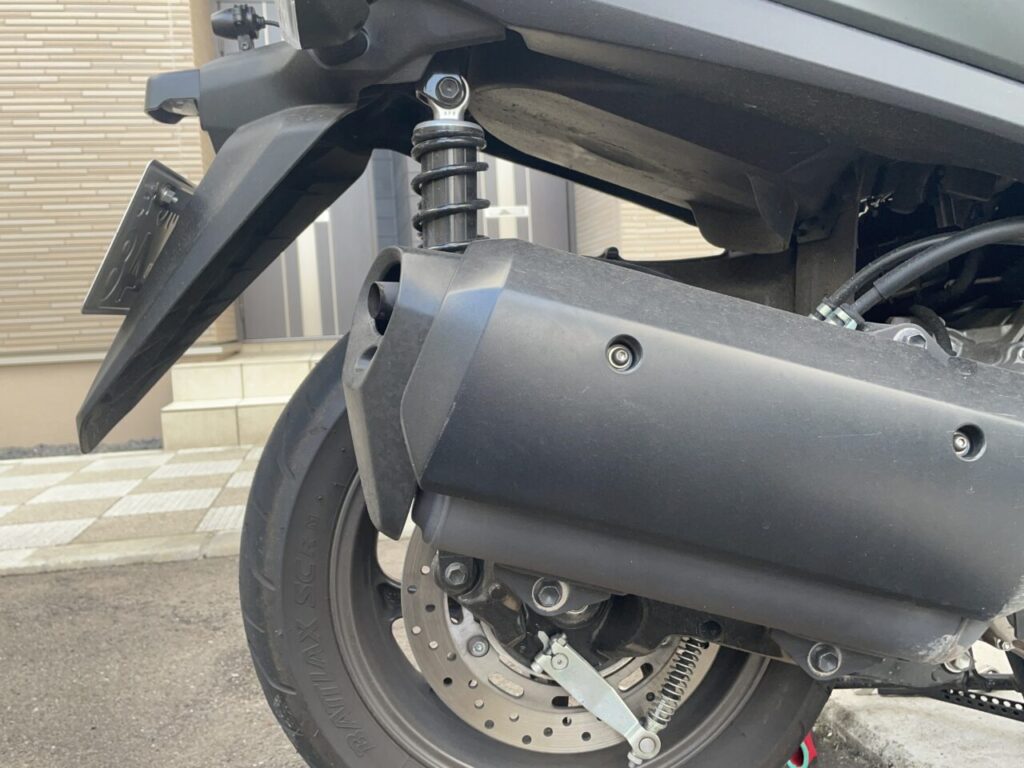
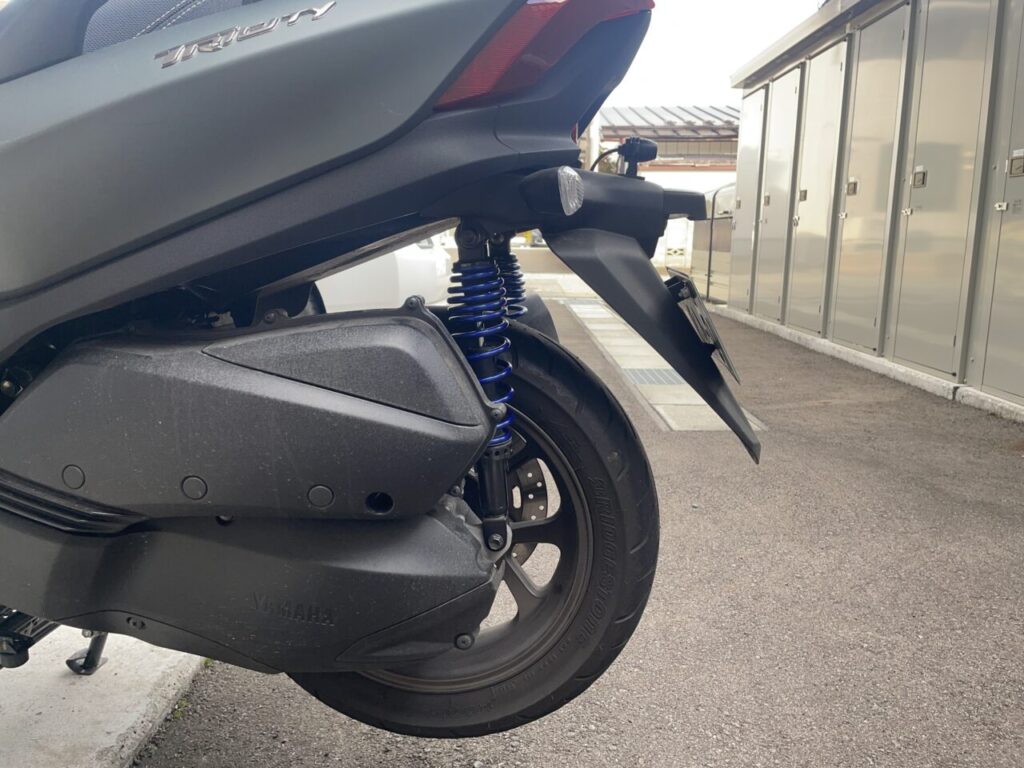
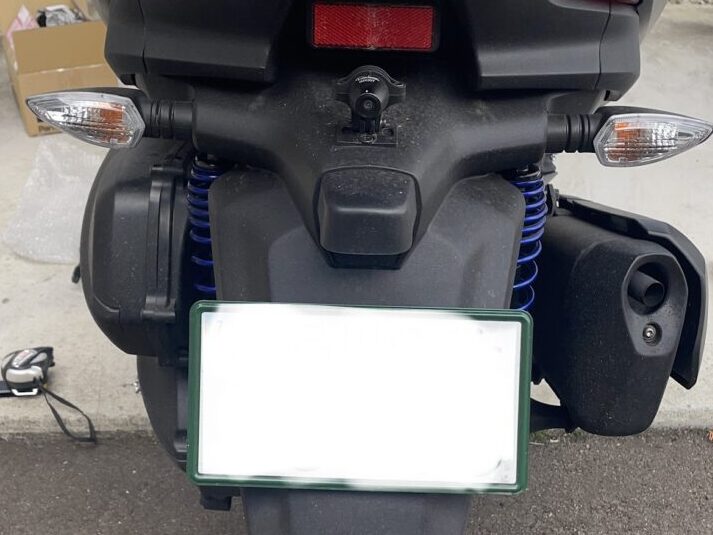
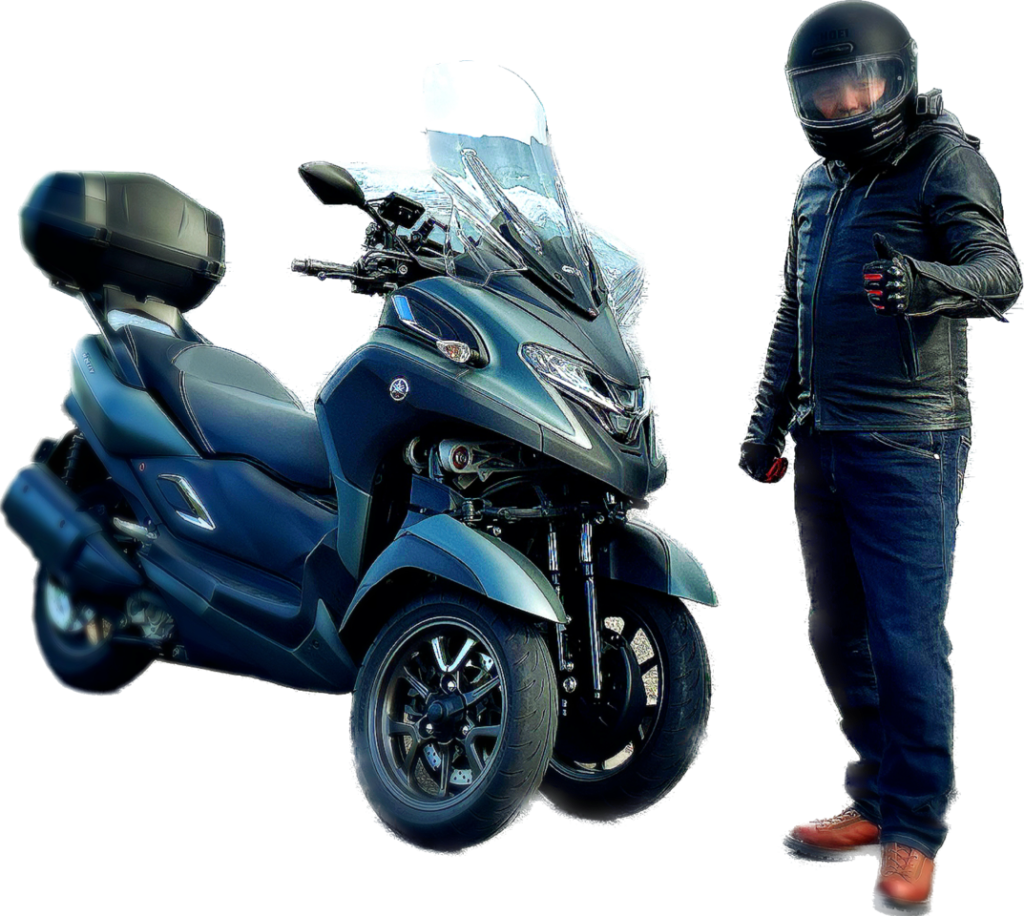
This deep blue is very cool.
Tools used for fitting
Tools used.
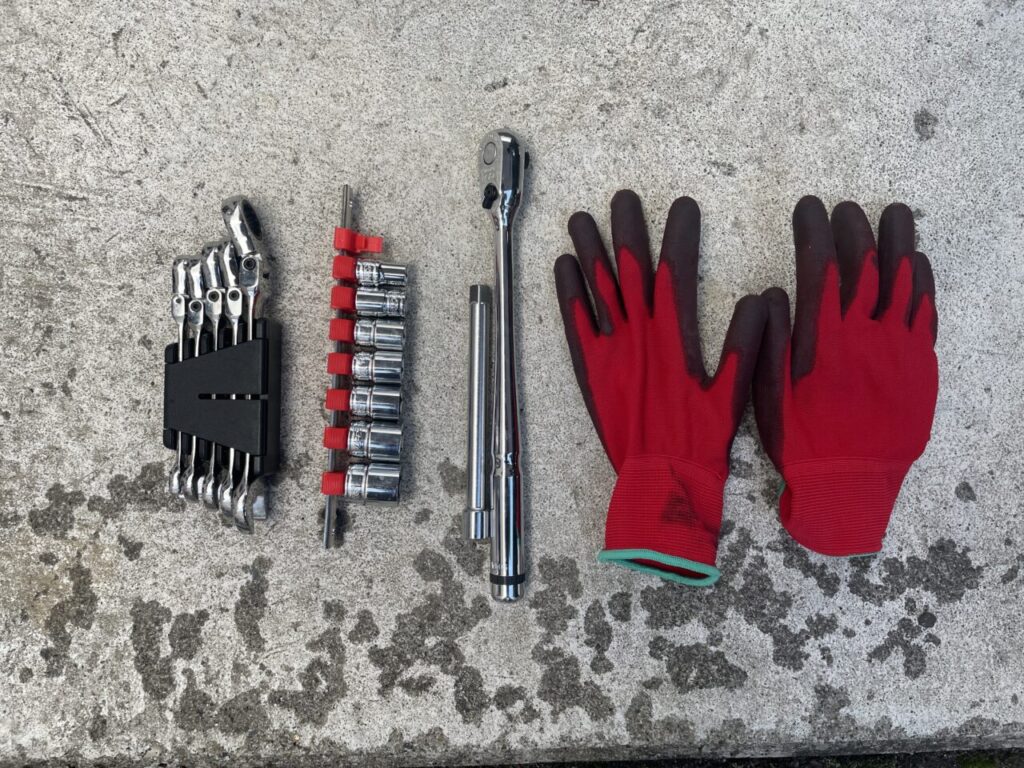
Spanner 14 mm, ratchet spanner, sockets 12 mm and 14 mm, work gloves
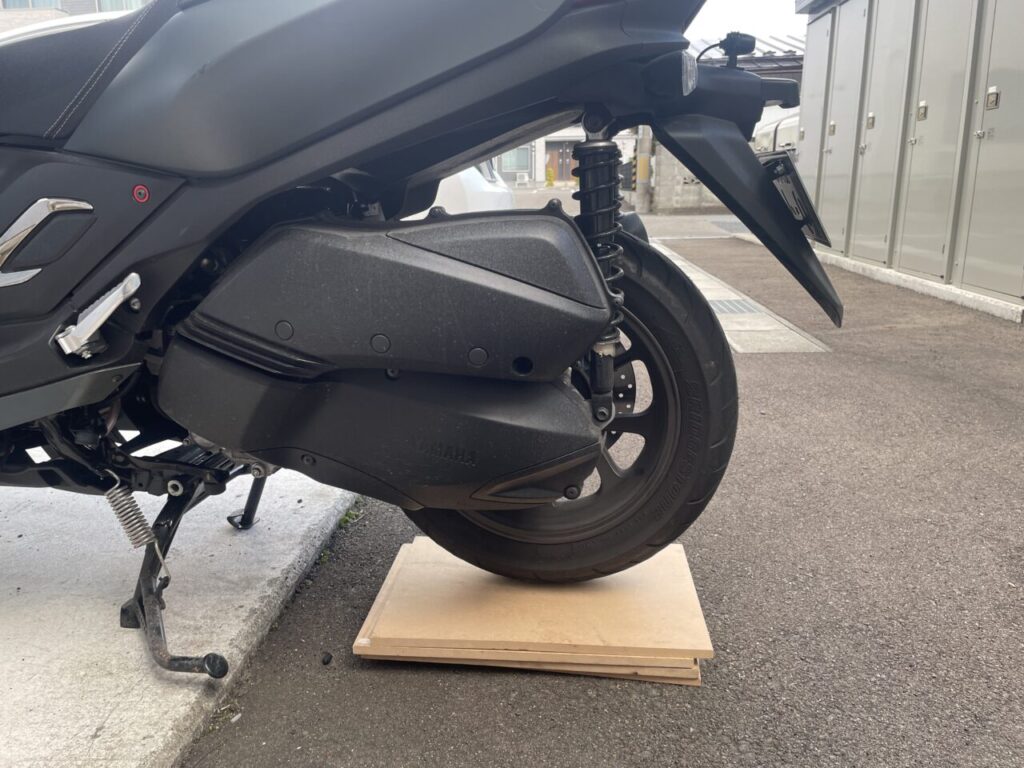
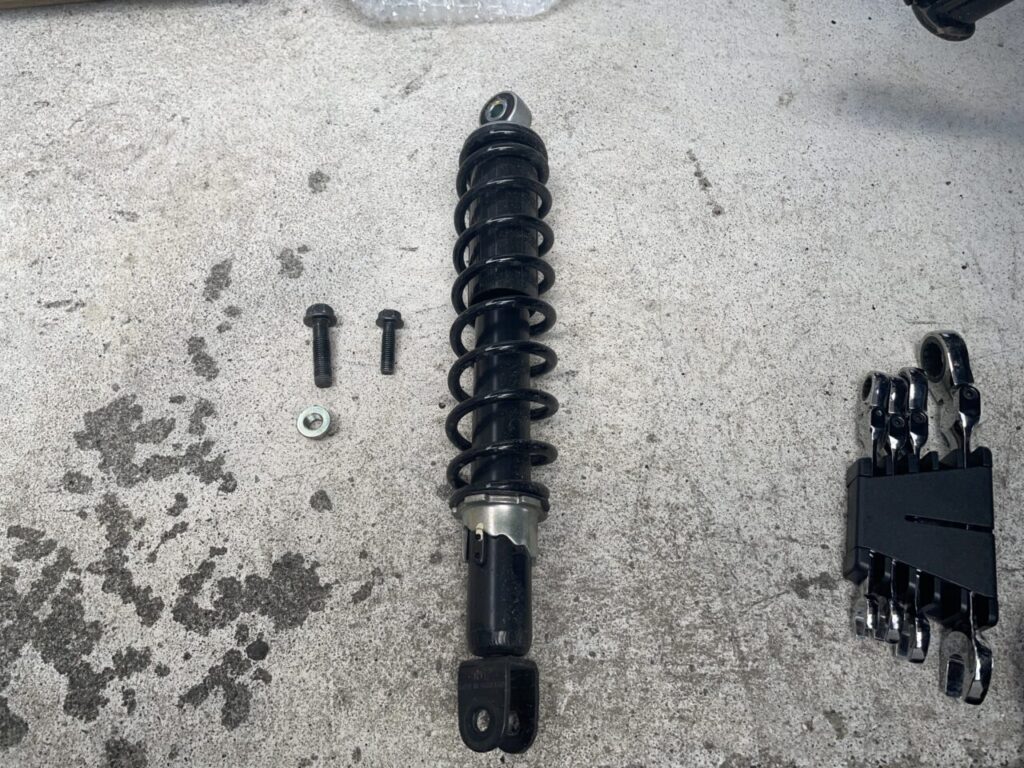
Stock suspension removed
(1) Planks are laid down so that the tyres do not drop when the stock suspension is removed.
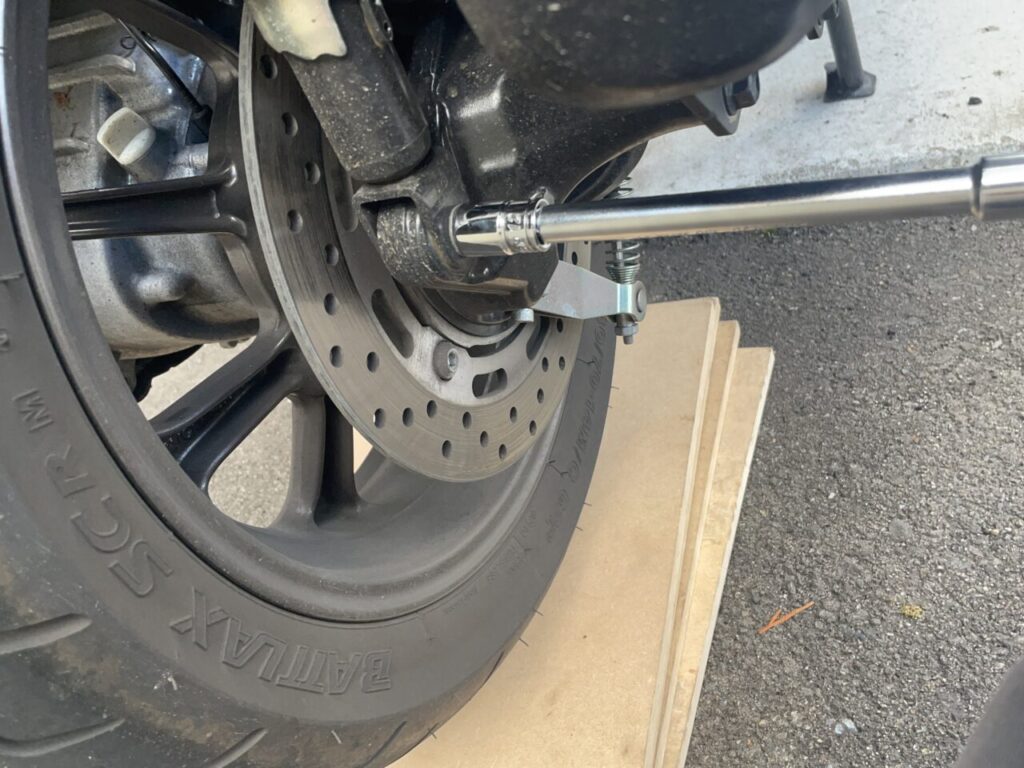
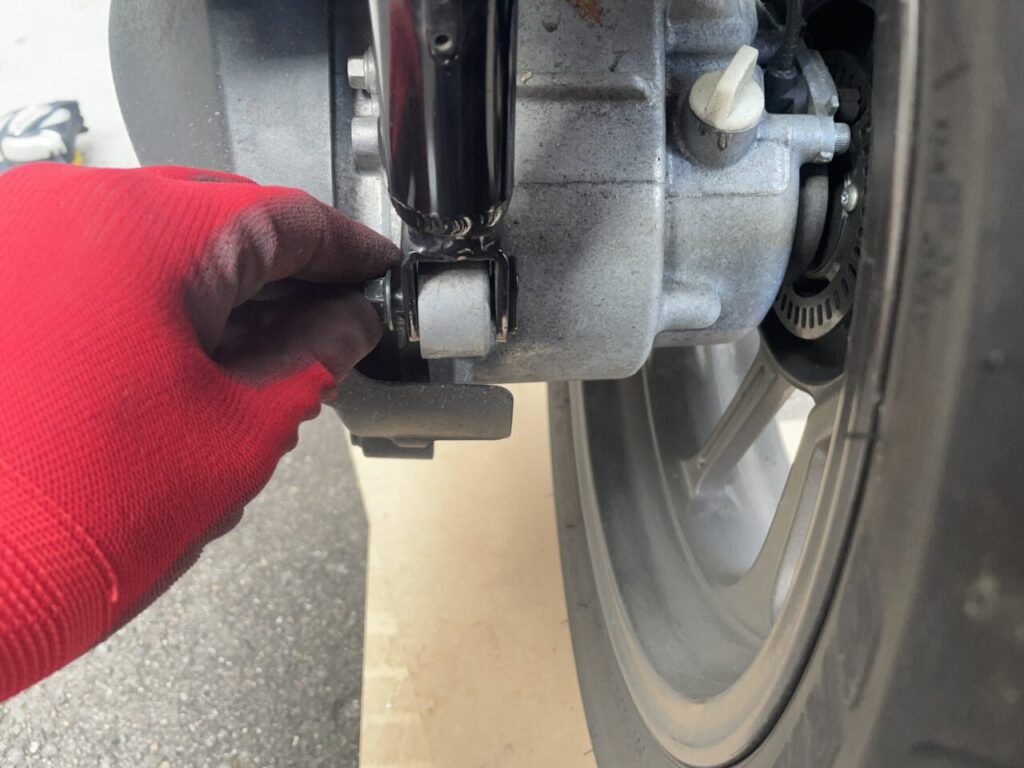
(2) Remove the lower suspension bolt.
The first step is to start with the lower bolt, which is threaded into the body and can be easily removed with a ratchet.
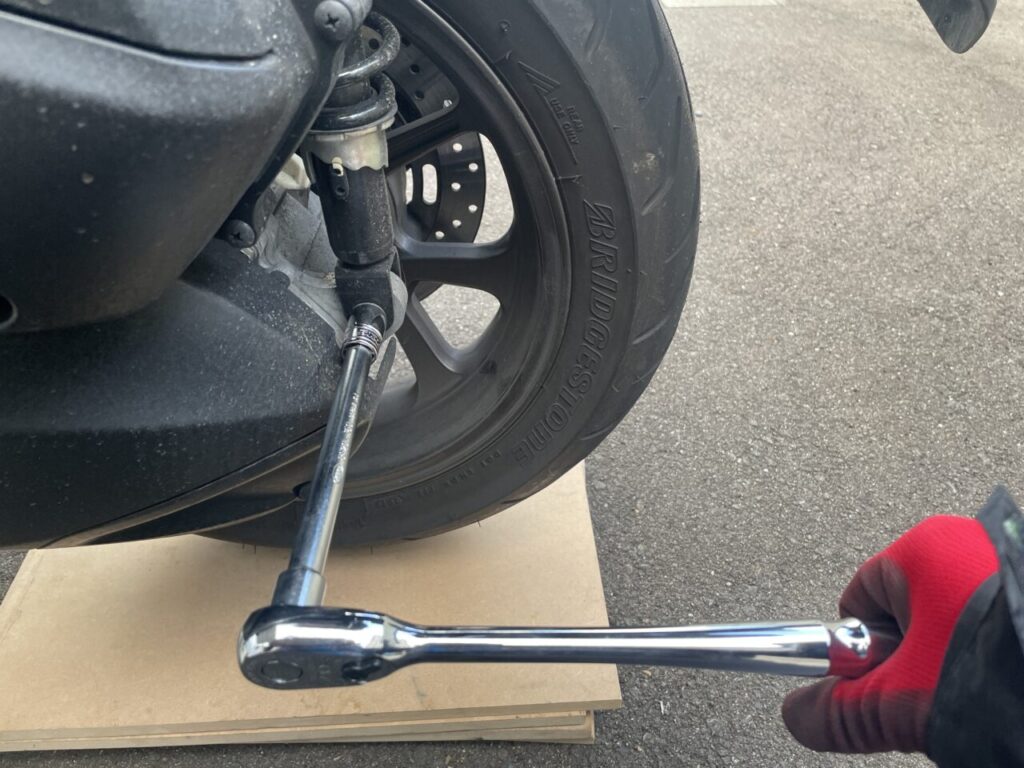
Remove the 12 mm socket on the ratchet.
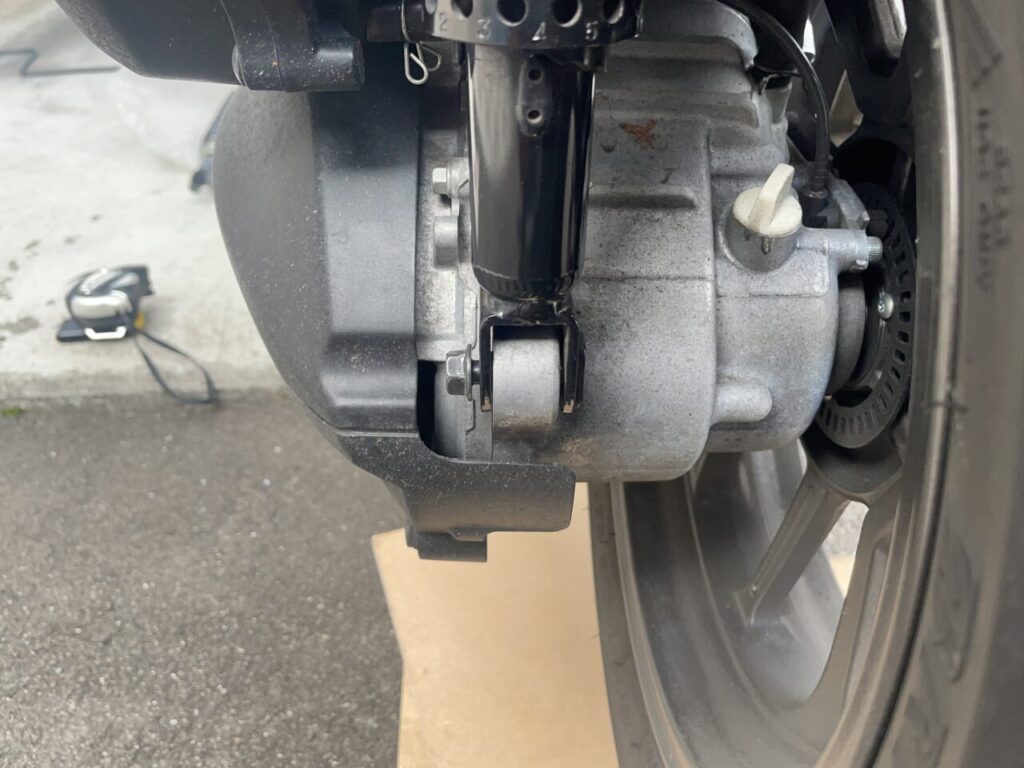
(3) Remove the upper suspension bolt.
The upper bolt is a bolt + nut stop. Hold the nut down with a spanner and remove the bolt with a ratchet.
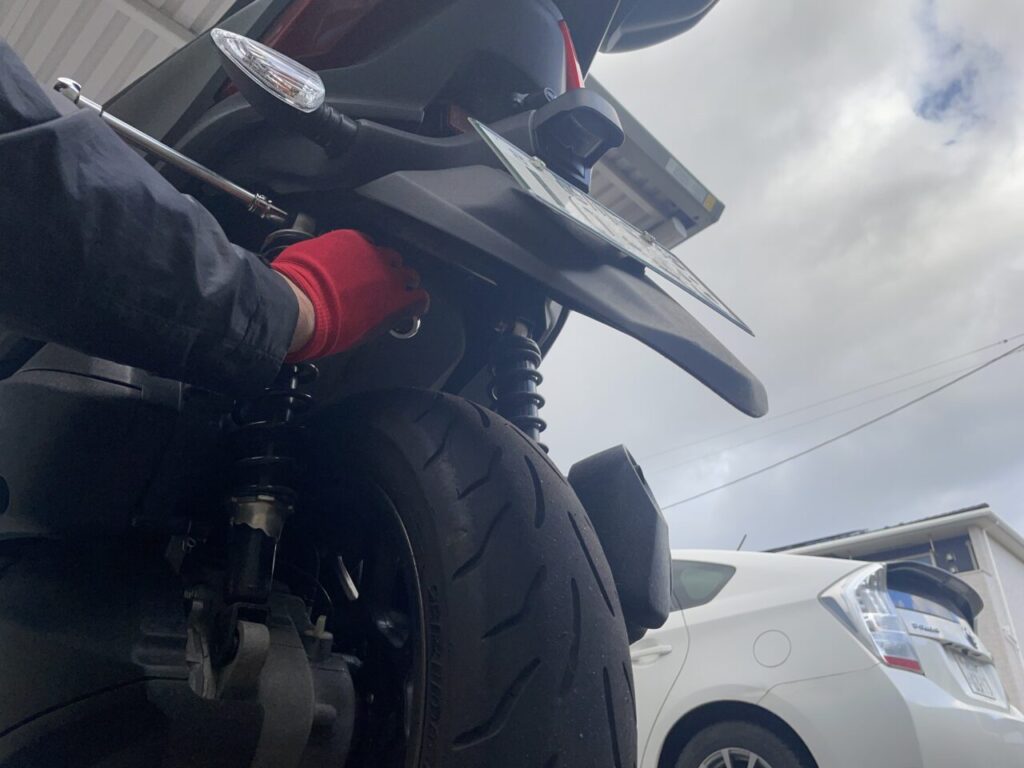
The upper side uses a 14 mm spanner and socket.
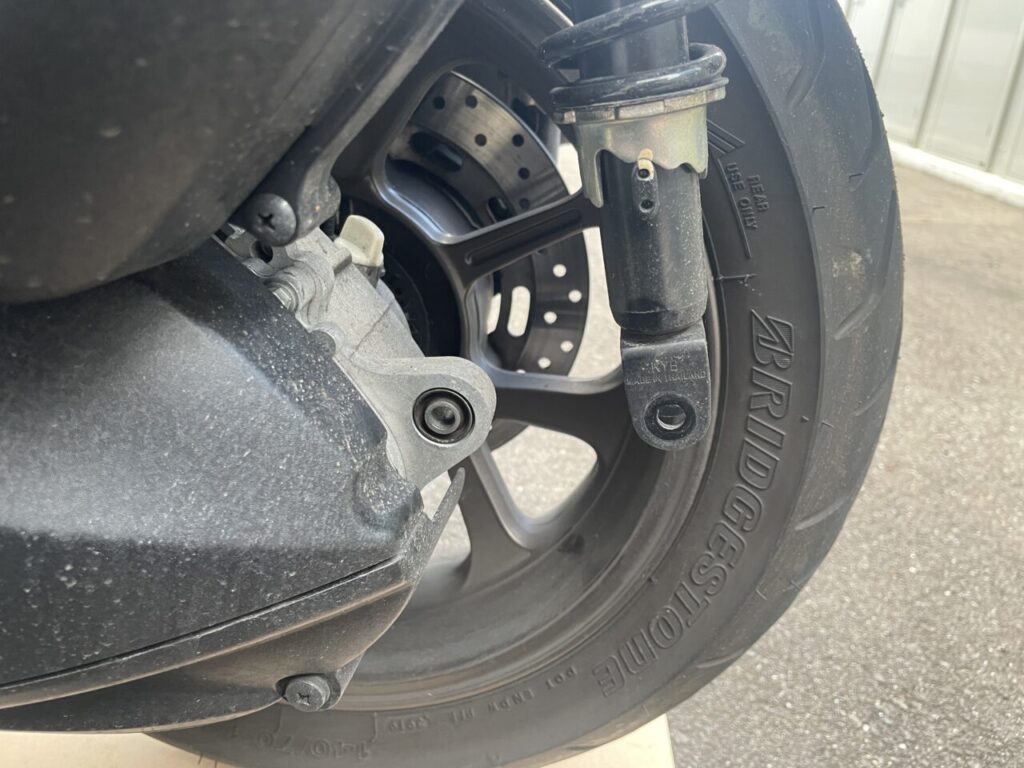
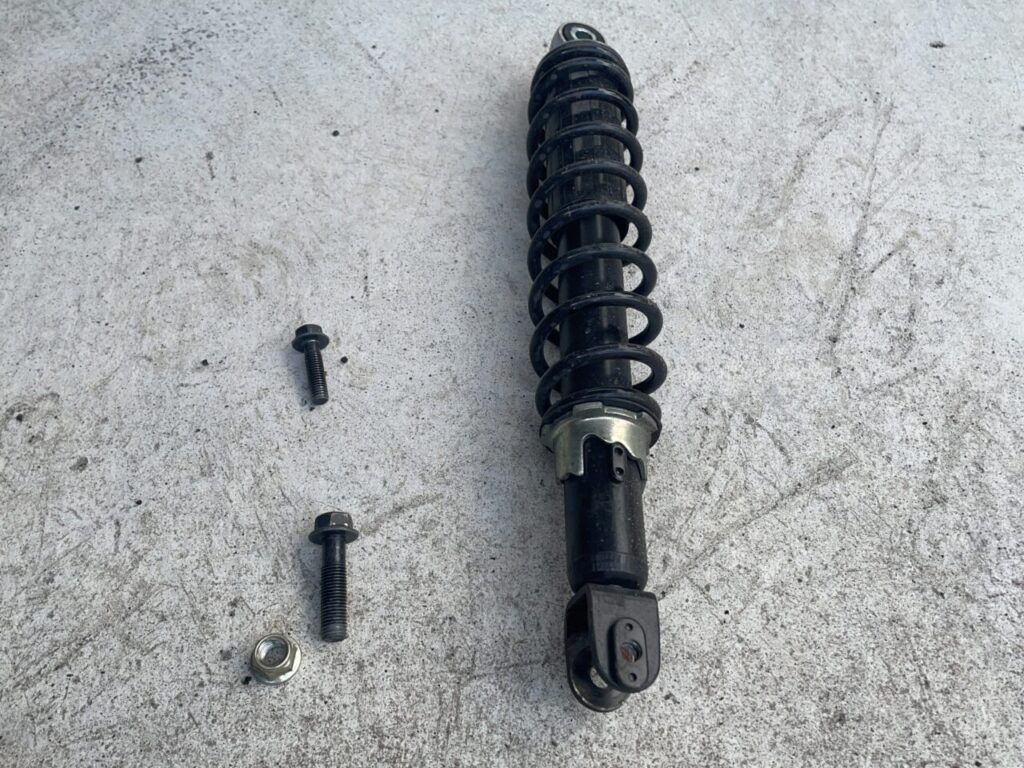
Removed stock suspension and bolts
Suspension fitted
(1) Prepared lowered suspension purchased.
Use genuine bolts.
(2) Suspension upper side bolted in place.
Temporary lowered suspension with 14 mm spanner and socket.
Use the bolts from the removal of the stock suspension.
(3) Remove the other side and temporarily fix the lowered suspension.
Brief photo introduction.

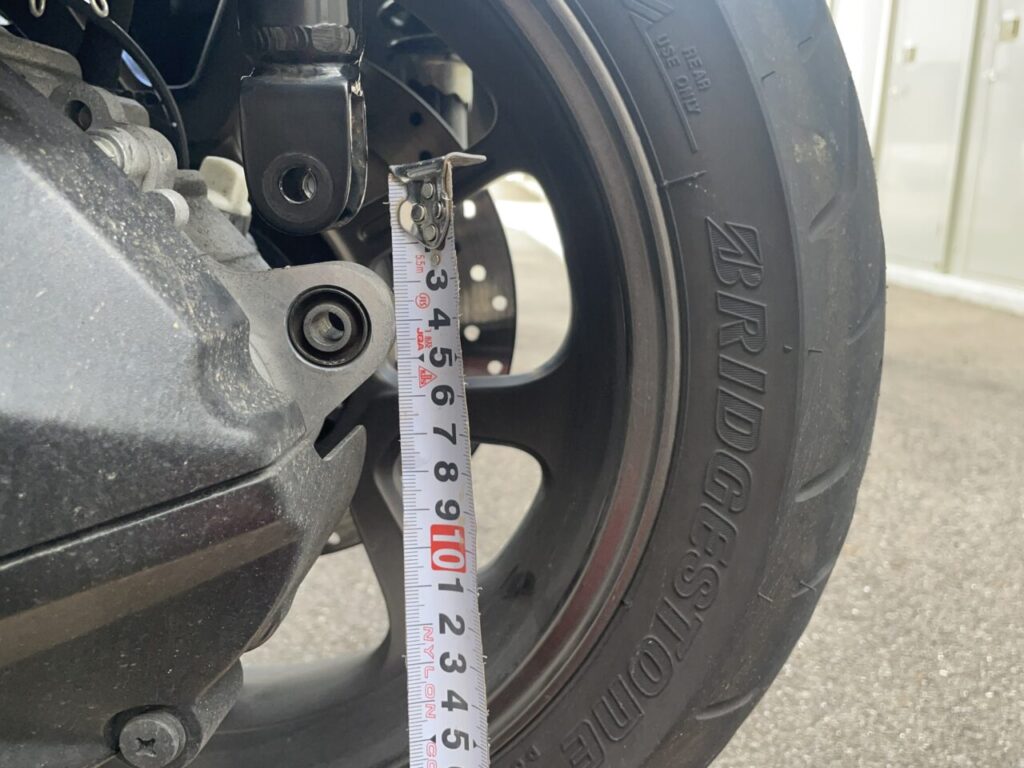
(4) Raise the tyres using the paving board.
The bolts under the suspension are 4 cm lower and the tyres need to be raised. Well, I can’t lift it up with my inefficient body. So I use the board I put under the tyre earlier.
place a board under the paving board that is in direct contact with the tyre, as shown in the picture.

Lift the paving board between the paving board and ・・・・ and the tyre will easily go up due to the principle of leverage.

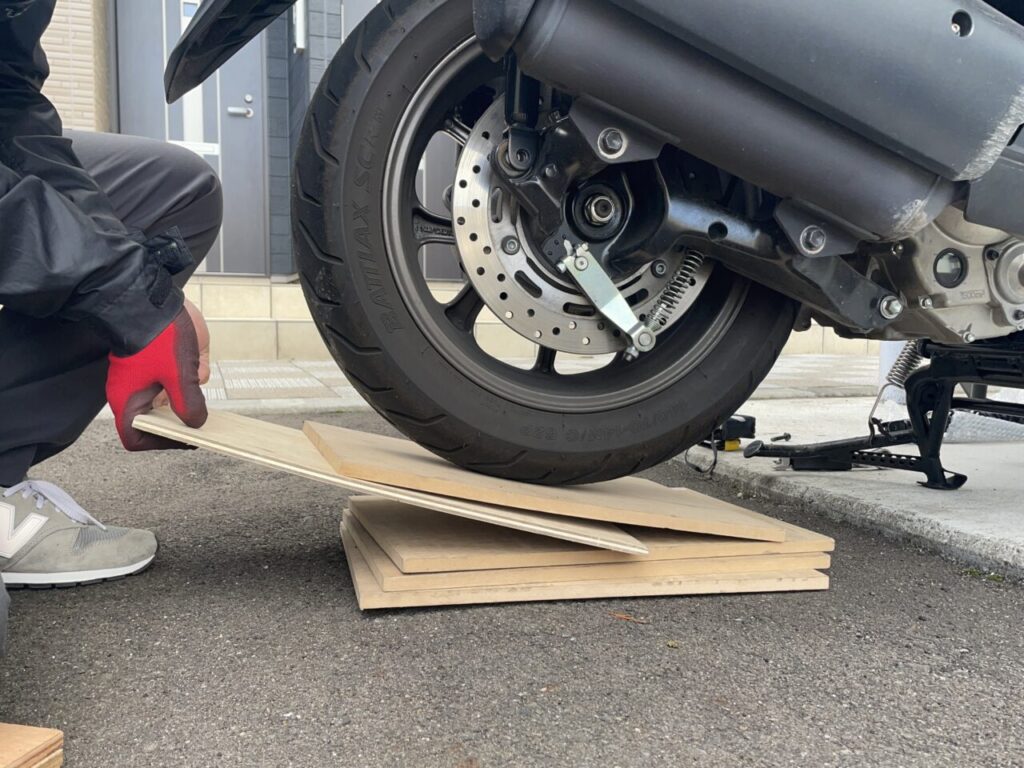
Temporarily fasten the lower bolts on the left and right lowered suspension while raising the tyres with one hand.
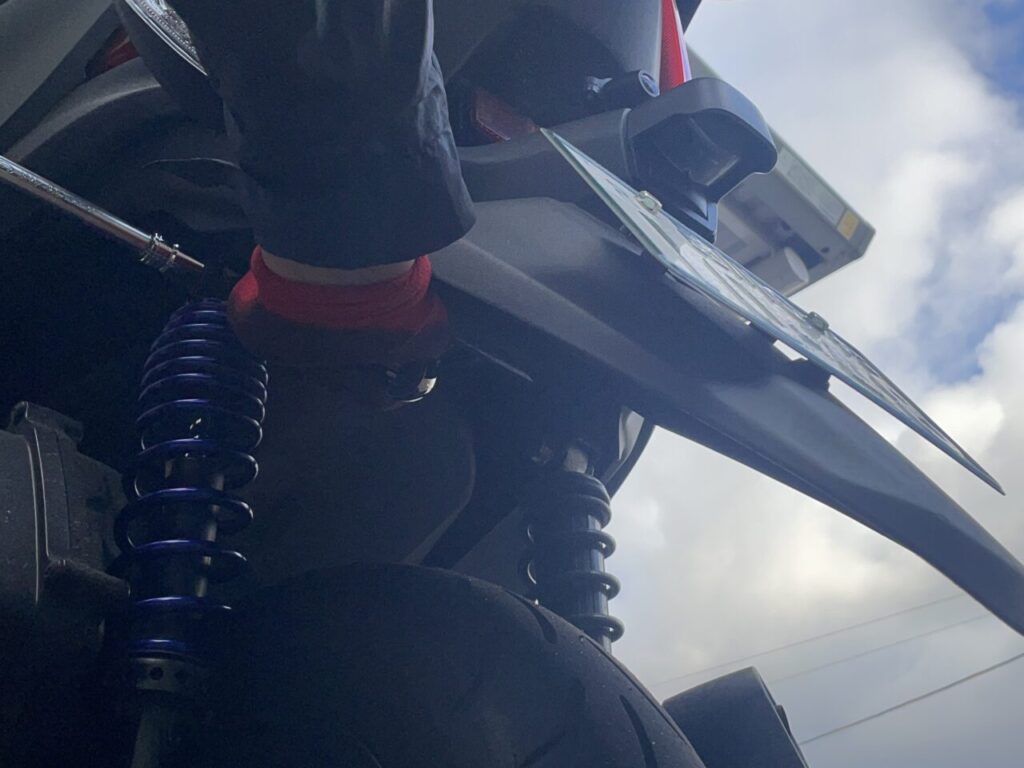
Installation of lowered suspension completed.
The work is completed by tightening the temporarily fastened bolts. If you have a torque spanner, you can tighten the bolts to the specified value. If you don’t have a torque wrench, you are responsible for tightening the bolts. I have a torque wrench at work, so I borrow it and tighten it later.
In case you are wondering, it falls down well enough without the short stand. I have driven about 500 km and stopped at various places and so far have had no problems with the stock stand.
Photo of the footprint after the lowered suspension has been fitted.
I used to be on my toes, but I’m better.
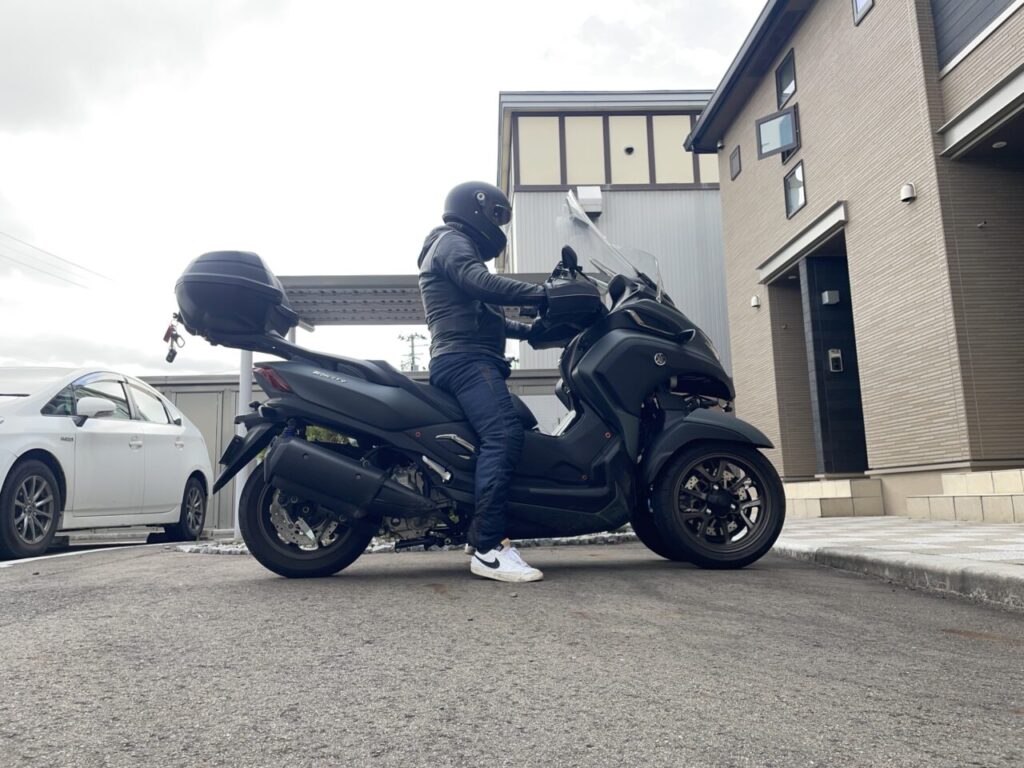 さんちゃん
さんちゃんMy height is 171 cm. Great stability. It’s like a lie that I was about to fall over when making small turns!
Review after installation of lowered suspension
I drove about 500 km after installing it and it seems a little stiffer than stock. But I can feel the vibration of the engine more than the stock suspension. However, the stability when making small turns after driving with it installed. The stability when stopping is amazing! I can’t go back to stock anymore (laughs). Because there is more power in my legs, it’s totally different when backing up while riding.
I’m glad I installed these.
コメント